Learn How To Fix A Leak In Your Aero Inflatable SUP
- Written by Maikel de Koning
- Published in Tips
- Comments::DISQUS_COMMENTS
 Jobe SUP navigates us through how to fix a leak in your inflatable SUP. | Photo Courtesy: Jobe SUP
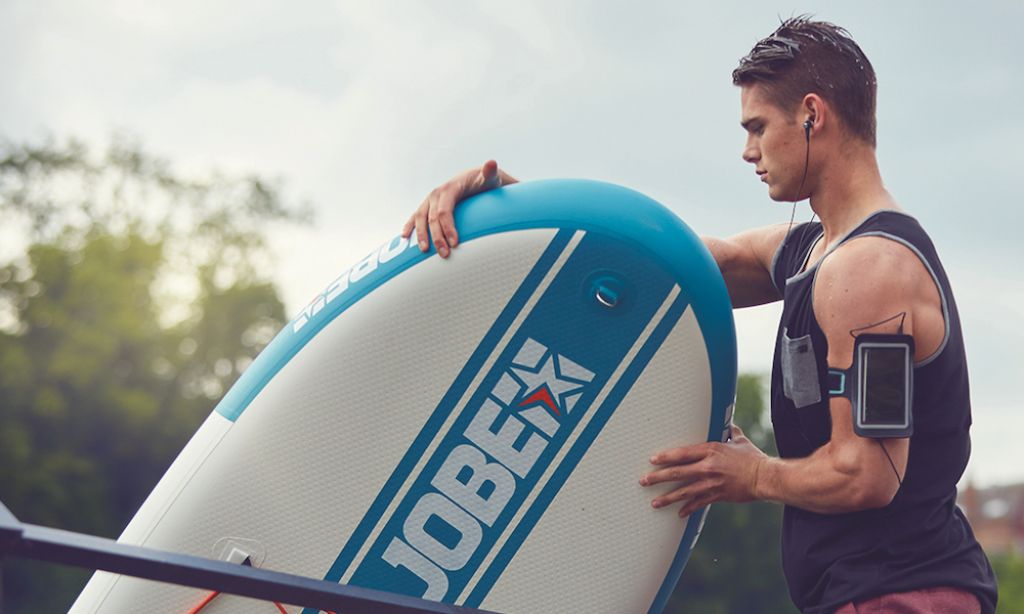
HEEREWAARDEN, Netherlands - Discovering new environments often means that you explore territory that is still unknown to you. Territory that might contain sharp objects like rocks that you do not know of. Those rocks might damage your SUP. Even though Jobe Aero SUPs can take a beating, sometimes a small leak in your SUP cannot be prevented. Fortunately all Jobe Aero SUP packages come with a repair-kit to repair your SUP. Follow the steps below to easily fix the leak in your Aero SUP and you will be back on the water in no-time! Ever fixed a flat tire? Then fixing your SUP will not be a problem at all. Never fixed a flat tire? After reading this SUP-repair article you will be able to as well!
1. The tools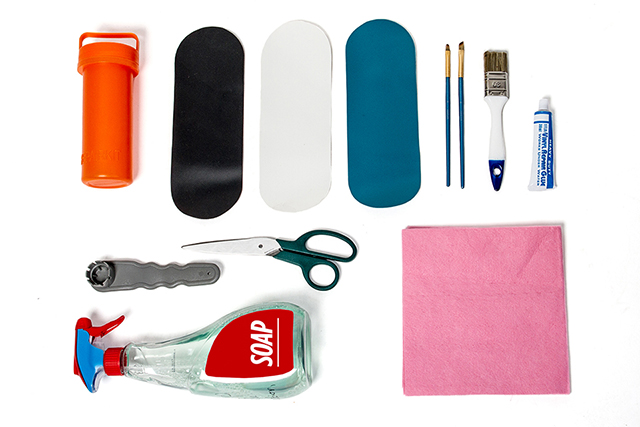
Your orange Jobe repair-kit contains patches, brushes, glue and a tool-pen. You only have to get scissors to cut the patches and soap and a piece of cloth to clean the surface and you are ready to start the process.
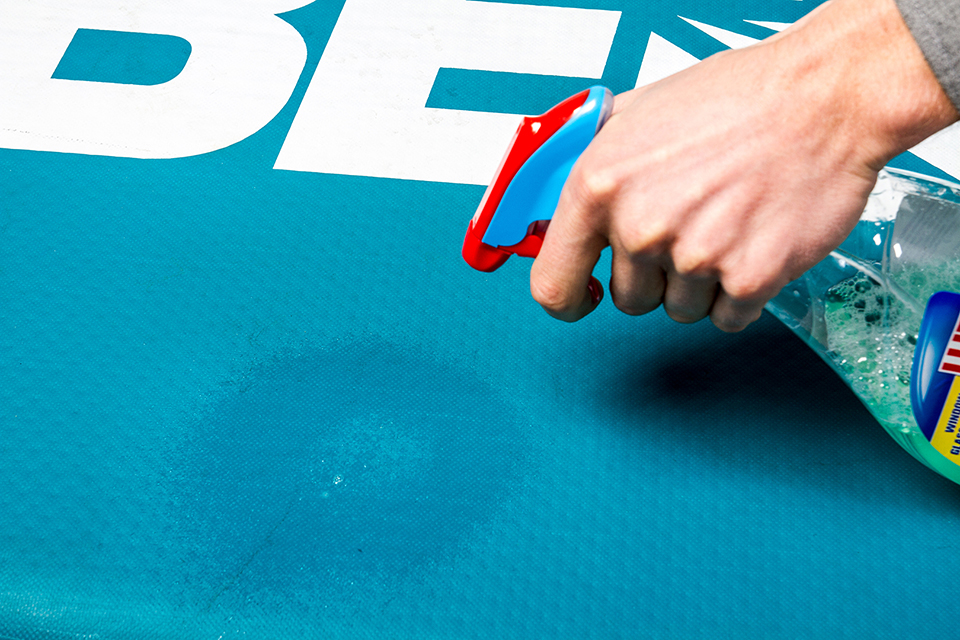
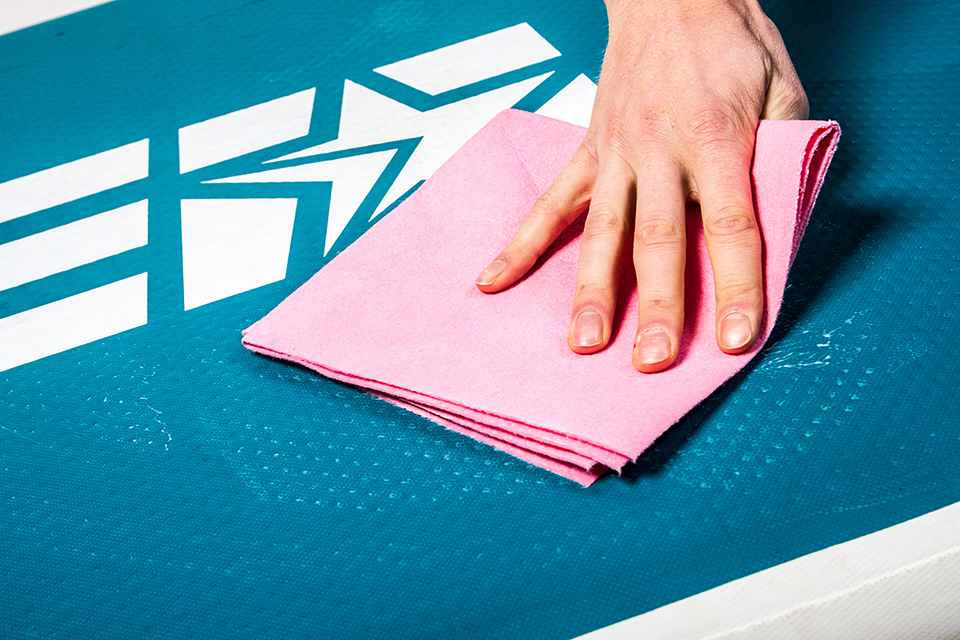
2. Clean the surface of the leak
Find the leak on your SUP and start cleaning the surface of your SUP (tip: have some problems finding it? Inflate your SUP a little, apply water to the area and see where bubbles appear). Use the soap and apply it to the cloth to clean the SUP.
 |
 |
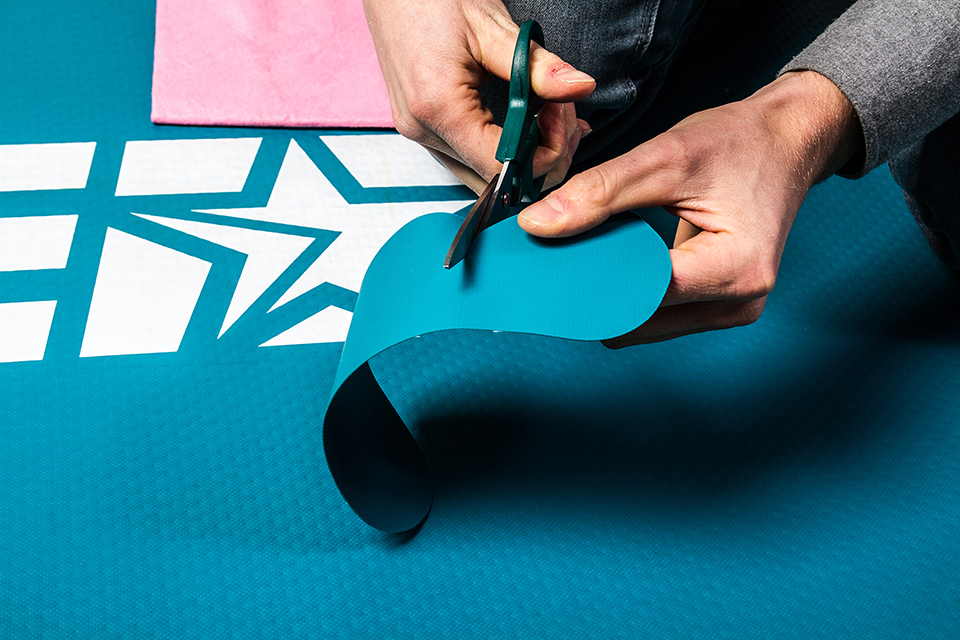
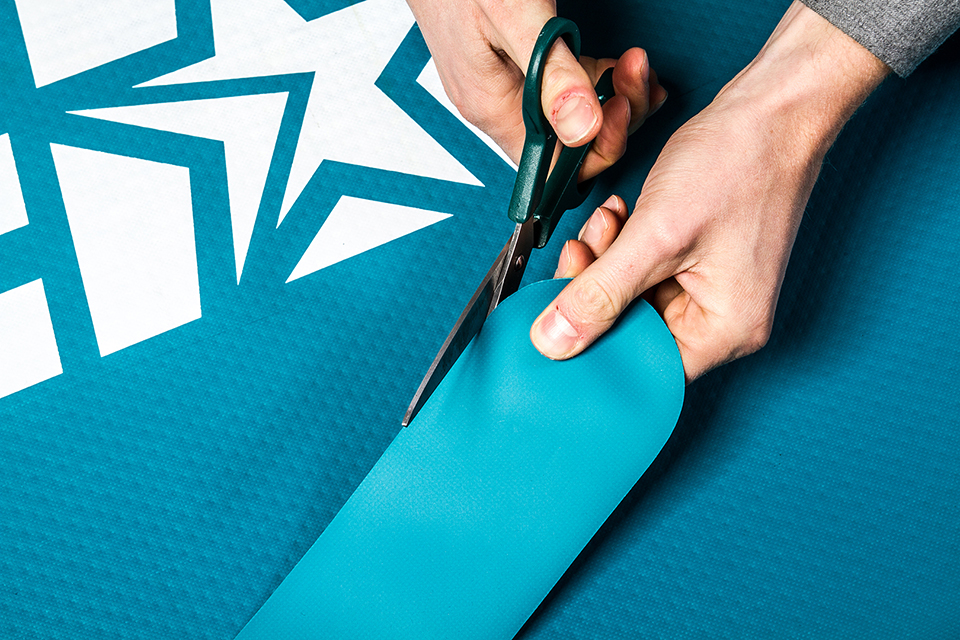
3. Get a patch ready
Cut a piece of the patches that can be found in the repair-kit. Depending on which area of your SUP the leak is found, take the matching color. Use the scissors to cut a piece that is big enough to cover the leak. Once cut, clean it once more with the cloth.
 |
 |
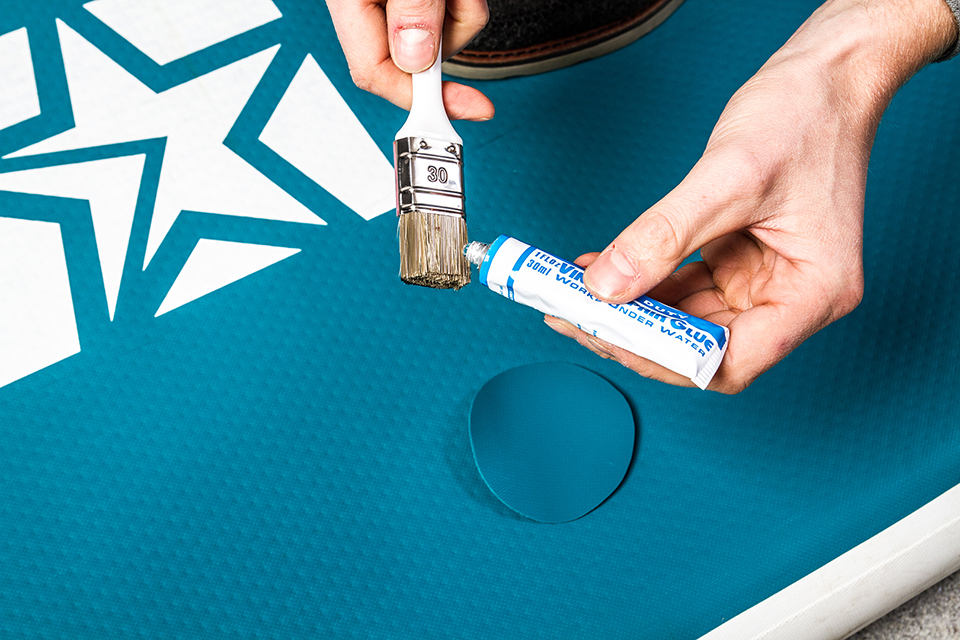
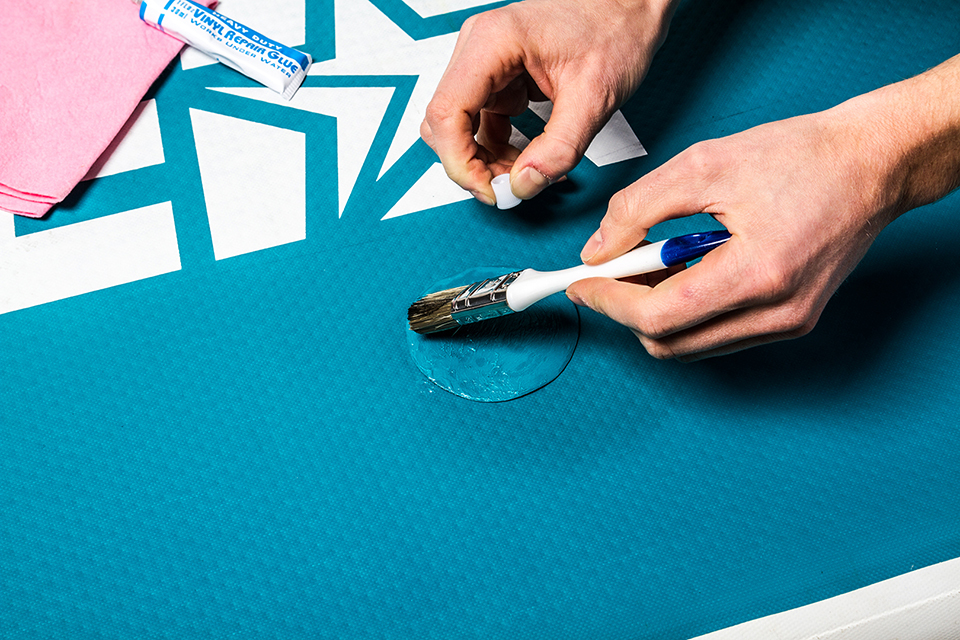
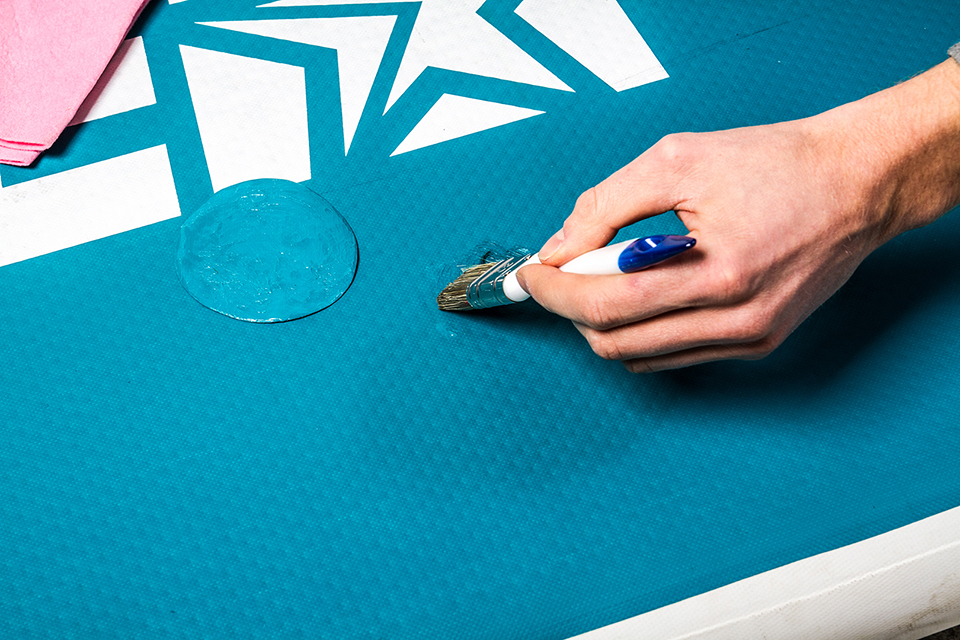
4. Apply the glue
Once the patch is ready it is time to apply the glue. Take the brush, put some glue on it and apply it to both the patch and the surface on your SUP. Work your way from the center to the edges. Make sure to apply enough glue on the patch and on glue the surface the size of the patch.
 |
 |
 |
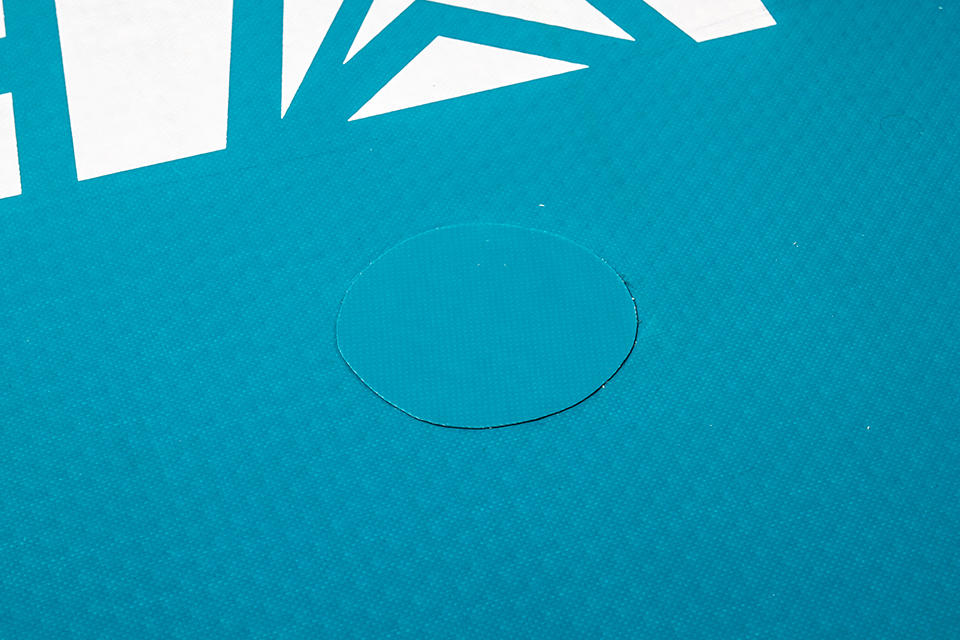
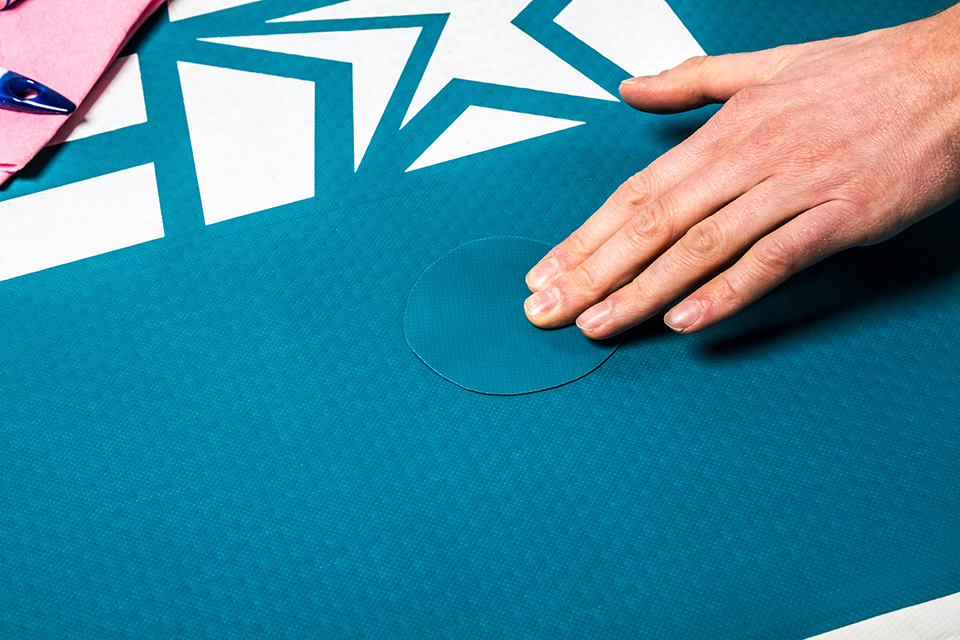
5. Apply the patch
Now that there is enough glue you can put the patch on the surface. Make sure to press the patch firmly on the SUP to remove unevenness’s. Once the patch is glued on the SUP, clean the entire area and remove remainders of the glue. If necessary you can use some acetone for that.
 |
 |
6. DONE!
Congratulations; you have just repaired your SUP! We know you cannot wait to get on the water again, but for the best results it is best to wait 24 hours before you do so. That is probably the hardest step in the repair process, but this is advised in order to make sure the glue has completely dried up. However, the rewards will be satisfying! See you on the water again!